Pull a soaked three-layer shell off a wire hanger at the end of a season and you can usually see exactly where it hung. Two dimples in the shoulders, a permanent bend in the collar line, and a jacket that no longer sits the way it did in the shop. The gear did not fail on the trail. It failed in the closet, on a hanger that cost forty cents and was never built to hold a wet garment that weighs four pounds.
Hanging hiking gear properly is not complicated, but it is specific. A hardshell needs different treatment from a loaded pack, a hydration bladder needs different treatment again, and a couple of items should not be hung at all. What follows is a piece-by-piece guide to hanging trail gear so it keeps its shape, dries out fully, and is ready the next time you want to move quickly. Most of it comes down to two things: matching the hanger to the load, and giving damp fabric room to breathe.
If you are still using the thin plastic hangers that came with your last delivery, start there. A 200 lb rated hanger removes most of the problems below before you have to think about them.
What a Thin Hanger Does to Technical Hiking Gear
Outdoor apparel is engineered around structure. Waterproof shells rely on a laminated membrane, packs rely on an internal frame, and vests rely on padded panels holding their shape against the body. All of them are damaged by the same thing: concentrated pressure at a single point, held for months.
Shoulder Stretch and Hanger Divots
A standard hanger is roughly three millimetres thick at the shoulder. All the weight of the garment passes through that narrow edge. On a light cotton shirt this does nothing. On an insulated jacket, and especially on a wet one, the fabric slowly deforms around the edge and sets in that position.
The result is a pair of raised points at the shoulder seam that no amount of washing removes. Once a shoulder line has set that way it stays set, because the deformation is in the fabric structure rather than in how the garment is folded.
Crushed Insulation and Flattened Baffles
On a jacket with mapped insulation, the same narrow pressure point crushes the baffles underneath the shell fabric. Down and synthetic fill both work by trapping air, so a flattened baffle is a permanent cold spot at exactly the place your pack straps already compress.
This is the failure most people never diagnose. The jacket looks fine, feels fine in the hand, and then runs cold across the shoulders on a winter walk without any obvious reason why.
Creased Membranes in Waterproof Shells
Waterproof breathable fabrics are laminates, and hard folds held under load stress the membrane layer. This is not a marginal concern invented by hanger companies. Gore’s own care instructions for GORE-TEX outerwear tell you to reduce washing machine spin speed specifically to minimise creasing in the fabric.
If a few minutes in a spin cycle is worth avoiding for that reason, so is eight months folded over a wire. The stress is lower but the duration is thousands of times longer.
Mildew From Storing Gear While It Is Still Damp
The most expensive storage mistake is also the most common one: putting gear away before it has finished drying. The EPA’s guidance on moisture in the home is blunt about the timescale involved. Damp materials dried within 24 to 48 hours will usually not grow mould, and indoor humidity is best kept below 60 percent.
A hydration bladder stuffed into a pack, or a shell crammed into a bin at the back of a garage, sits well outside both of those conditions. Once mildew reaches a technical fabric the smell is very difficult to remove without treatment that also strips the water repellent finish.
Webbing and Buckles Left Under Tension
Nylon webbing takes a set. A hip belt cinched tight for six months loses adjustment range, and the sections that sat folded over a buckle stay curled. The same applies to load lifters, sternum straps and compression straps on a pack that was hung fully tightened.
Loosening everything before storage costs about twenty seconds and keeps the harness adjustable across its full range.

How to Hang Each Piece of Hiking Gear
Different items fail in different ways, so the technique changes item by item. This table covers the quick version, and the sections underneath explain the reasoning where it matters.
| Gear | How to hang it | What to avoid |
|---|---|---|
| Hardshell and insulated jackets | Wide-shouldered hanger, zip half closed, hood loose | Wire hangers, hanging by the hood loop |
| Backpacks and rucksacks | By the haul loop, straps loosened | Hanging by the shoulder straps |
| Hydration reservoirs | Upside down and open, separate from the pack | Storing sealed inside the pack |
| Weighted vests and plate carriers | Load-rated hanger, plates in, shoulders squared | Folding over a rail or draping on a chair |
| Wetsuits and waders | Non-metal wide hanger, folded at the waist when heavy | Metal hangers, narrow shoulders, direct sun |
| Boots and gaiters | Dried upright with tongues open, then shelved | Hanging by the laces |
| Trekking poles | Extended or loosely collapsed with locks released | Storing clamped tight and wet |
| Sleeping bags | Uncompressed, by the hang loops or in a large breathable sack | Long-term storage in the stuff sack |
| Tents | Dried fully, loosely rolled on a shelf | Packing away damp, tight compression for months |
Hardshell and Insulated Jackets
Use the widest-shouldered hanger you own. The point is surface area: spreading the load across a broad, curved shoulder rather than a narrow edge means no single spot takes enough pressure to deform the fabric.
Close the front zip about halfway so the jacket keeps its shape rather than splaying open, and leave the hood hanging naturally instead of tucking it into a bunched wad behind the collar. Never hang a shell by the hood loop. That loop is designed to hold the garment’s own weight when it is dry and hanging in a shop, not a wet jacket for a season.
Leave a few centimetres of air between jackets on the rail. Shells packed shoulder to shoulder cannot dry, and a rail of them pressed together in a hall closet is a slow mildew problem. For more on how membrane fabrics behave in storage, see our guide to technical hiking fabrics.
Backpacks and Rucksacks
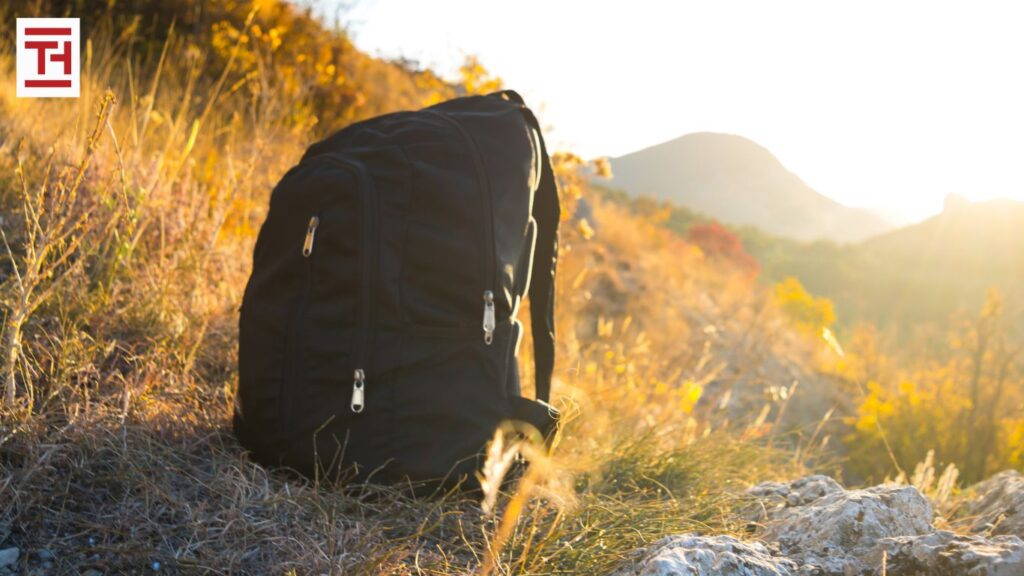
Hang a pack by its haul loop, the reinforced webbing handle at the top of the back panel. That loop is stitched into the frame sheet precisely so it can carry the pack’s full weight from one point. The shoulder straps are not. They are built to distribute load across your body while you are moving, and hanging a loaded pack from them pulls the harness geometry out of shape over time, which you feel on the next long day as an uneven carry.
Loosen every strap before hanging, including the hip belt and load lifters. Empty the pack first, or at minimum take out anything heavy and anything that can leak. Leave the lid and main compartment slightly open so the inside airs out rather than holding whatever moisture came home with it.
A daypack without a haul loop can go over the hook itself, with the straps tucked in so they are not dangling and stretching. We covered this in more depth in our guide to storing backpacks after a trek.
Hydration Packs and Reservoirs
Separate the reservoir from the pack, every time. Hang the bladder upside down with the fill cap open so residual water drains from the lowest point rather than pooling in a fold, and prop the sides apart so the interior surfaces are not sitting against each other. A bladder that dries fully does not need scrubbing out later.
Run the drink tube out straight rather than coiled, since a coiled tube traps water at the low point of every loop. Disconnect the bite valve if it detaches, and hang the pack body separately so air reaches the back panel, which is usually the sweatiest part of the whole system and the last part to dry.
Weighted Vests and Plate Carriers
A loaded carrier is the heaviest thing most people hang at home, and it is where cheap hangers fail outright. Keep the plates in if you are storing it ready to use, square the shoulders on a wide hanger so the cummerbund is not twisted, and make sure the hanger is rated well above the actual load.
Removing the plates and folding the carrier flat in a bin works too, but it creases the laminate panels and you lose the grab-and-go readiness that is usually the point of owning one.
Wetsuits, Waders and Neoprene
Neoprene tears at stress points, so shoulder width matters more here than anywhere else. Use a wide, non-metal hanger. Metal leaves rust marks on wet neoprene and can stain a suit permanently in a humid garage.
For a heavy suit or a pair of chest waders, fold the item at the waist over a wide bar rather than hanging it from the shoulders. That takes the strain off the shoulder seams entirely, which is where a full-length suit usually splits first.
Rinse in fresh water, dry inside out, then turn it and dry the outside. Keep it out of direct sun, which degrades neoprene faster than almost anything else. Our guide to drying and storing a wetsuit goes through the full sequence.
Boots and Gaiters
Do not hang boots by the laces. The laces pull the eyelets and the upper out of shape, and on a leather boot that distortion is permanent.
Dry them upright with the tongues opened wide and the insoles pulled out, away from direct heat. Radiators and hot air cracks leather and delaminates midsole adhesive, so a cool ventilated spot beats a fast dry every time. Once dry, boots belong on a shelf or a boot rack rather than on a rail. Gaiters hang fine from their instep straps or a clip.
Trekking Poles
Dry poles before storing them, including the inside of the sections. Water left inside a collapsed pole corrodes the locking mechanism and swells any cork or foam grip from the inside.
Store them either extended or loosely collapsed with the locking levers released. Poles left clamped tight for months, particularly if moisture got into the sections, are the most common cause of a lever lock that will not hold on the first climb of the season.
Sleeping Bags
Sleeping bags should not live on a hanger, and getting this wrong quietly destroys more gear than anything else on this list. Down and synthetic fills both lose loft when kept compressed, and loft is warmth.
Store a bag uncompressed, either hung by the loops sewn into the foot box or loose in the large mesh or cotton storage sack it came with. The stuff sack is for carrying, not for the other eleven months of the year. Keep those storage sacks when you unpack a new bag, since replacing them is oddly expensive.
Tents and Shelters
Tents need to be bone dry before they go anywhere. A tent packed damp will grow mould on the fly within days and the smell never fully leaves.
Pitch it in the garden or hang the fly and inner separately until they are completely dry, then roll loosely rather than compressing hard, and store on a shelf out of the sun. Poles stay assembled loosely or go in their sleeve with the shock cord slack, because a shock cord held at full tension for a year stops pulling the sections together properly.
What Makes a Hanger Strong Enough for Trail Gear
The difference between a hanger that works for hiking gear and one that does not comes down to four things, and only one of them is about raw strength.
Load Rating
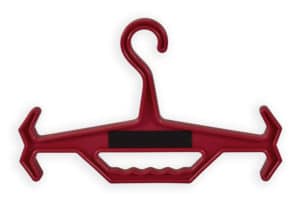
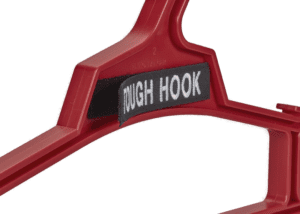
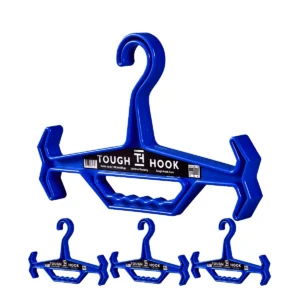
Every hanger in the Tough Hook range carries a published 200 lb load capacity. For context, the comparison table on our own review of plastic hangers you should not buy lists a typical retail plastic hanger at 10 lb. A soaked shell and a full hydration bladder together will exceed that before you have hung anything else.
Shoulder Span and Thickness
Load rating stops a hanger snapping. Shoulder width stops it damaging the garment. The two are separate problems, and a strong but narrow hanger still leaves divots because the pressure is still concentrated along a thin edge. Width and thickness together are what protect a shoulder line.
Material
High-impact polypropylene will not rust against wet neoprene or a damp shell, which rules metal out for anything that goes into storage less than fully dry. It also holds its shape under sustained load rather than slowly bending the way thin moulded plastic does.
Carry Handle
The moment where gear is most likely to get dropped or dragged is between the wash and the rail. An integrated handle means you carry a loaded carrier or a wet suit in one hand rather than balancing it across both arms.
Which Model Suits Which Gear
The three models differ mainly in size and whether they carry a handle.
| Model | Load capacity | Dimensions | Best suited to |
|---|---|---|---|
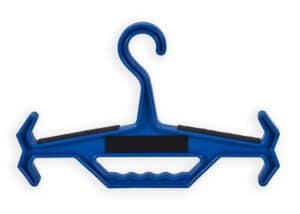
| Tough Hanger XL | 200 lb | 18.5 x 12 x 0.75 in | The widest shoulder span. Bulky shells, waders, loaded packs |
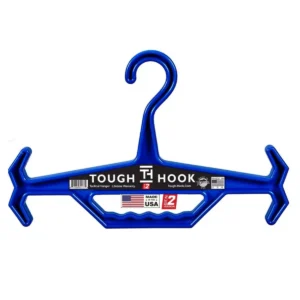
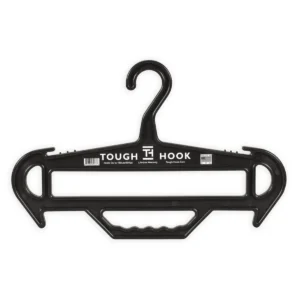
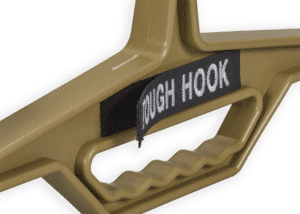
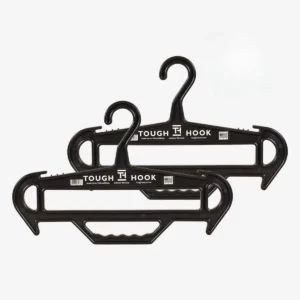
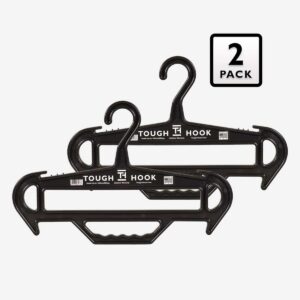
| Original Tough Hook Hanger | 200 lb | 16 x 10 x 1.25 in | Thickest profile with a carry handle. Vests and carriers |
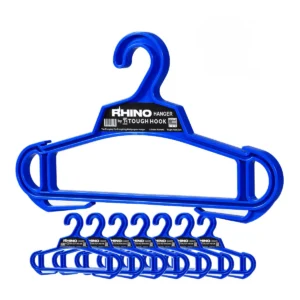
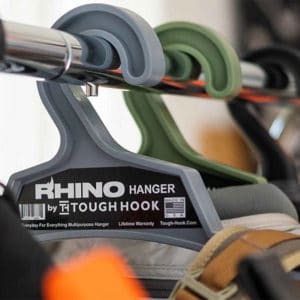
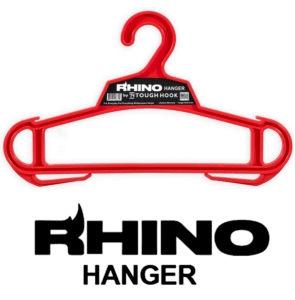
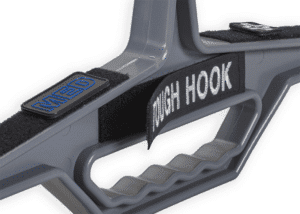
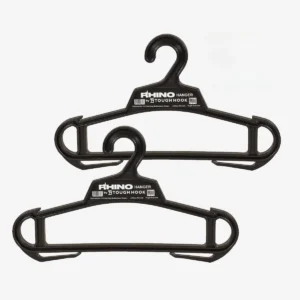
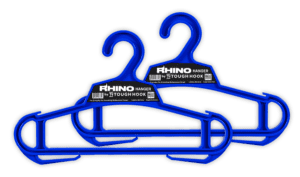
| Rhino Hanger | 200 lb | 17.75 x 10 x 0.75 in | Lightest, with tension hooks for straps and accessories |
All three are made in Bozeman, Montana and carry a lifetime warranty. If you are kitting out a whole gear wall rather than replacing one hanger, the four-pack bundle works out cheaper per unit. For gear stored in a sunny garage or on an outdoor rack, our note on UV-resistant hanger materials is worth reading first.
Where to Store Hiking Gear at Home
Hanging technique only solves half the problem. The other half is picking a space that is dry, ventilated and organised well enough that you actually use it.
Hall Closet
Fine for jackets and daypacks, poor for anything still damp. Closets are enclosed and unventilated by design, so gear should go in dry or not at all. Leave gaps between items on the rail rather than packing it out, and keep the door open for an hour after adding anything that came home wet.
Garage
The most common home for bulky kit and the riskiest for humidity. Unheated garages swing through the dew point, which puts moisture straight into stored fabric overnight and takes it out again during the day.
Keep gear off concrete floors, which wick moisture upward, and use a dehumidifier if the space runs damp. Aim for the sub-60 percent humidity the EPA recommends. Mount a rail or a length of pipe on the wall rather than leaning things in a corner, since anything leaning eventually falls over and gets stepped on.
Mudroom or Entry Wall
The best option if you have the space. Gear coming in wet goes straight onto hooks or hangers before it reaches carpet, dries in a ventilated area, and is by the door when you want to leave. This is the core idea behind a dedicated gear room, scaled down to a single wall.
What Belongs on Shelves and in Bins
Not everything belongs on a rail. Shelves take boots, folded tents and uncompressed sleeping bags. Clear bins with lids suit the small items that get lost otherwise, headlamps, stoves, repair kits and first aid, but bins should never hold anything damp, because a sealed bin is the fastest way to turn slightly wet into mouldy.
Drawers or open cubbies work for gloves, hats and socks. Keep the mesh storage sacks your sleeping bags came in and use those rather than stuffing a bag into whatever sack is nearest.
Group Gear by Activity, Not by Object
The organising principle that saves the most time is grouping by trip type rather than by item type. A day-hike shelf holding the pack, poles and shell together beats a jacket rail, a pole corner and a pack pile in three different rooms.
Packing for a Saturday walk then becomes lifting one set of things off one shelf, which is the difference between leaving at seven and leaving at nine.
What Proper Hanging Saves You Over a Season
The Cost Comparison
A technical shell costs several hundred dollars. A hanger rated to hold it costs less than twenty and carries a lifetime warranty, which makes this one of the few pieces of gear maths that resolves immediately. One hanger outlives every garment you will hang on it.
Gear That Stays Ready
The saving is not really financial though. It is that gear stored properly is gear that works. A pack whose harness held its shape carries the way it was fitted. A shell with an intact membrane and a live water repellent finish sheds rain on the third day out instead of wetting through on the first. A hydration bladder that dried fully does not need throwing away.
And a rail of gear hanging ready by the door means a clear Saturday morning turns into a hike rather than forty minutes of hunting through bins. Start with whatever you own that is heaviest and most expensive, usually the shell or the pack. That is where a proper hanger pays for itself fastest.
Frequently Asked Questions
Should you hang a hiking backpack by its shoulder straps?
No. Hang a pack by its haul loop. The straps are built to carry load against your body, not to bear the pack’s full weight from a single point, and hanging from them pulls the internal frame and suspension system out of shape over time.
Can you hang a wet hiking jacket straight after a hike?
Yes, provided you use a wide-shouldered hanger and leave space for air to move around the garment. Wet fabric is heavier, so a thin hanger will leave shoulder divots faster on a damp jacket than a dry one.
What weight can a heavy-duty hanger hold?
Every hanger in the Tough Hook range is rated to 200 lbs. A standard retail plastic hanger is often rated around 10 lbs, which is less than a soaked shell jacket and a full hydration bladder together.
How should you hang a hydration pack so it dries?
Hang the reservoir upside down with the cap open so residual water drains from the lowest point rather than pooling in a fold. Hang the pack body separately so air reaches the back panel.
Should sleeping bags be hung up or stored in their stuff sack?
Hung or loose, never in the stuff sack long term. Compression flattens the fill and the bag loses warmth permanently. Use the hang loops at the foot box or the large breathable sack the bag was supplied with.
Why should you not hang hiking boots by their laces?
Hanging boots by the laces pulls the eyelets and the upper out of shape, and on leather that distortion is permanent. Dry them upright with the tongues open and the insoles removed, then store them on a shelf.