For outdoor enthusiasts, the call of the trail is often a spontaneous one. A clear morning sky, an unexpected free afternoon, or a sudden burst of energy can all conspire to make you yearn for the rustle of leaves underfoot and the scent of pine in the air. However, the enthusiasm for an impromptu adventure can quickly wane if you’re faced with the daunting task of hunting down scattered gear. Nothing saps the excitement of a potential hike faster than rummaging through closets, searching for that missing headlamp, or realizing your water filter is still in your dirty laundry pile. This is where the magic of a “grab-and-go” gear wall comes into play.
A well-organized gear wall isn’t just about neatness; it’s about efficiency, safety, and maximizing your time outdoors. It transforms the often-stressful pre-hike scramble into a seamless, almost ritualistic preparation. Imagine walking into your dedicated gear space, scanning a perfectly arranged collection of essentials, and in mere moments, having everything you need for your adventure. This article will guide you through the process of setting up an efficient and accessible gear wall, ensuring you’re always ready to answer the call of the wild.
The Philosophy of “Grab-and-Go”
The core principle behind a grab-and-go gear wall is simple: everything has its place, and every place is easily accessible. This isn’t about storing gear away; it’s about displaying it in a logical, intuitive manner. Think of it as your personal outdoor equipment dashboard. When you can visually confirm that all your crucial items are present and accounted for, it significantly reduces pre-hike anxiety and minimizes the chances of forgetting something vital. This system also encourages proper maintenance, as gear that’s easily seen is more likely to be cleaned, inspected, and repaired after each use, rather than being stashed away and forgotten until the next outing.

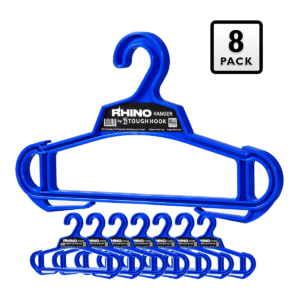
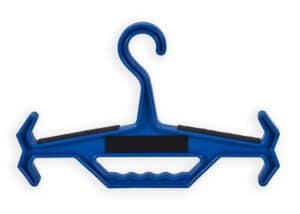
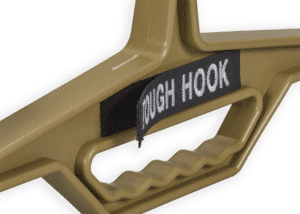
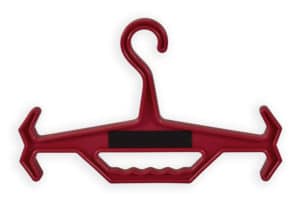
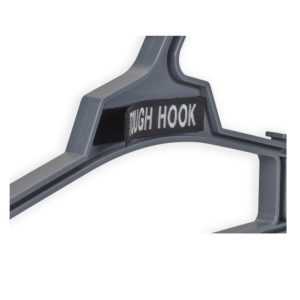
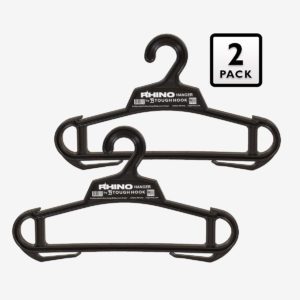
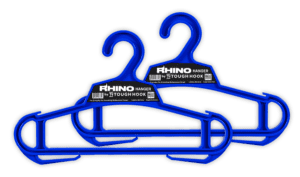
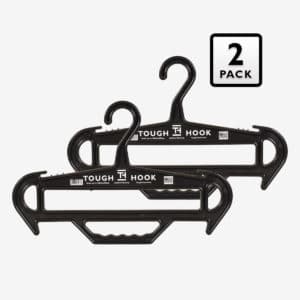
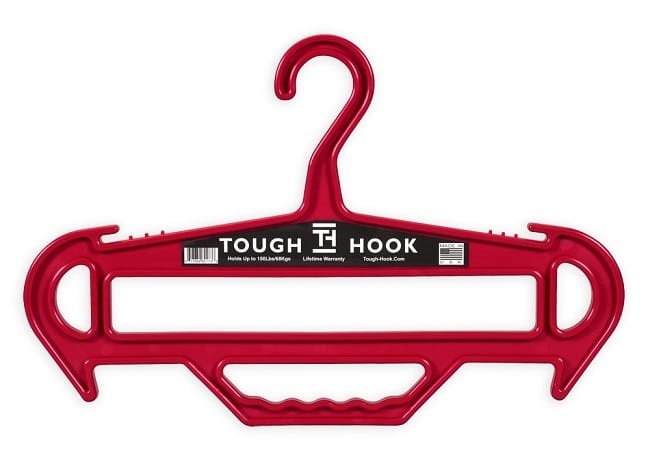
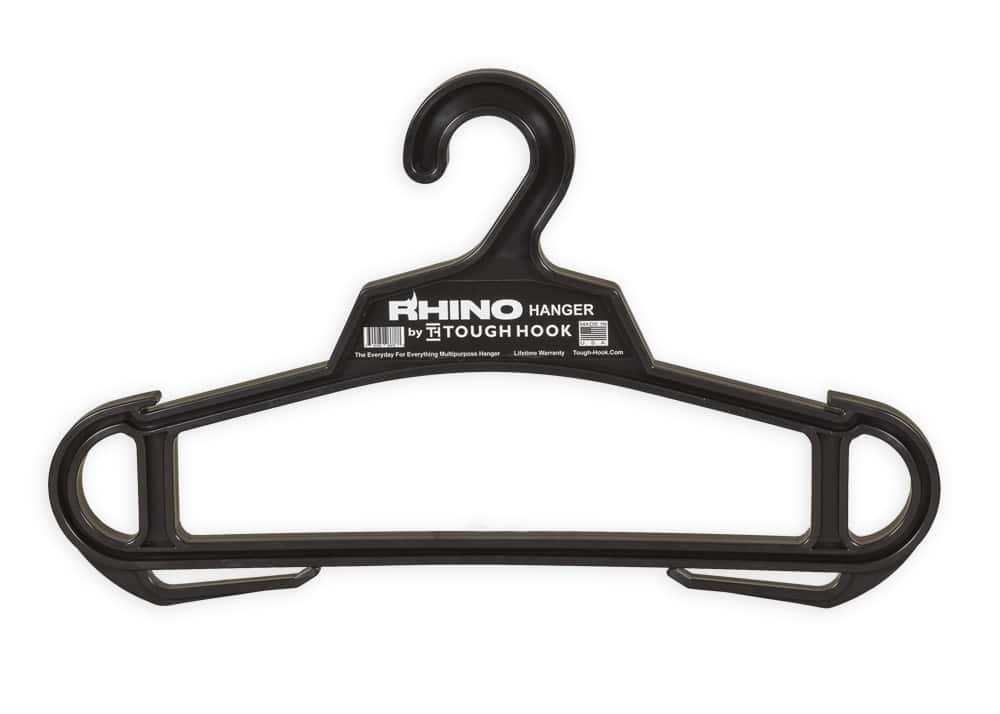
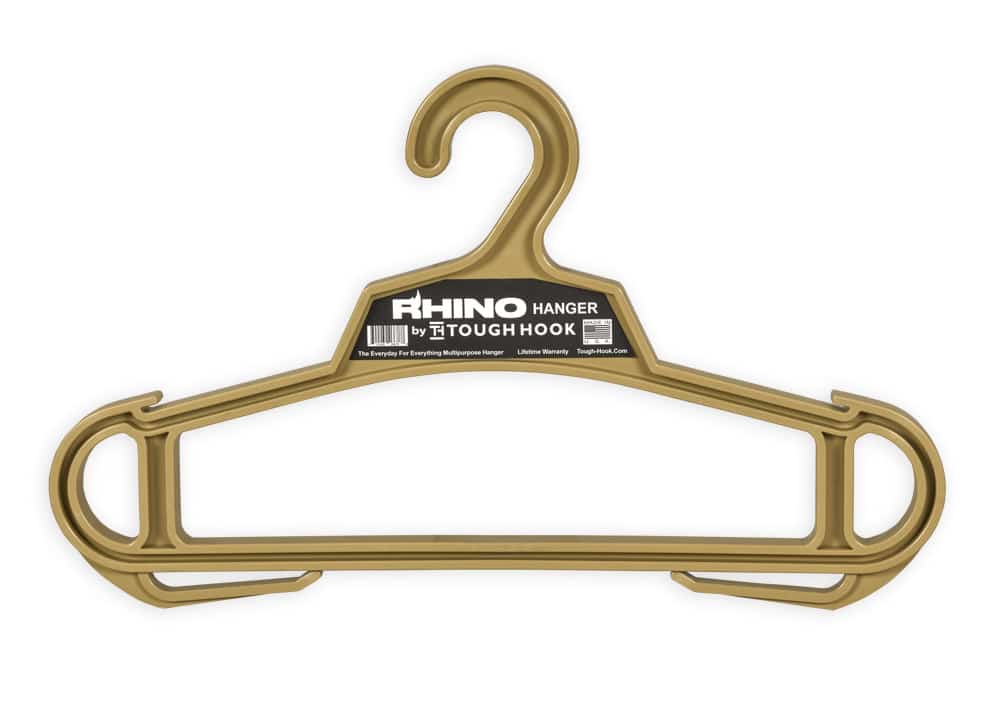
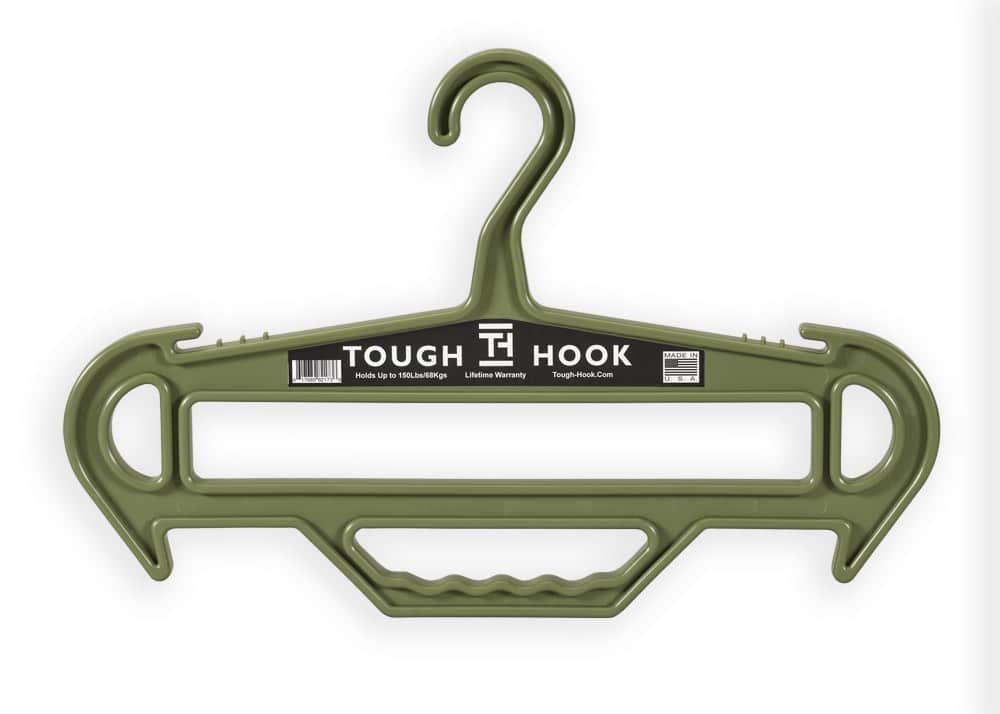
2 Pack RHINO Heavy Duty Clothes Hanger Bundle
Original price was: $25.95.$23.95Current price is: $23.95.Choosing Your Location and System
The first step is selecting the ideal spot for your gear wall. Garages, basements, dedicated utility rooms, or even a spare wall in a mudroom are excellent candidates. The key is to choose a location that is dry, reasonably temperature-controlled, and conveniently located. Avoid areas prone to extreme humidity or temperature fluctuations, which can degrade sensitive gear like electronics, sleeping bags, and certain fabrics.
Once you have a location, consider the type of wall system that best suits your space and gear volume. Popular options include:
-
Pegboard Systems: These are highly versatile and cost-effective. They allow for endless customization with various hooks, baskets, and shelves. You can easily reconfigure the layout as your gear collection evolves.
-
Slatwall Panels: A more robust and often aesthetically pleasing option, slatwall systems use specialized grooves that accept a wide range of accessories. They offer excellent weight-bearing capacity and a clean, streamlined look.
-
Modular Shelving Units: While not strictly “wall-mounted,” open shelving units can function as a gear wall, especially if they have integrated hooks or allow for attachments. They are great for bulkier items that don’t easily hang.
-
Grid Panels: Similar to pegboards but with a grid pattern, these are sturdy and allow for clip-on accessories.
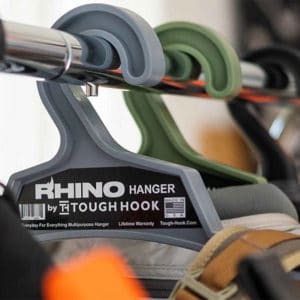
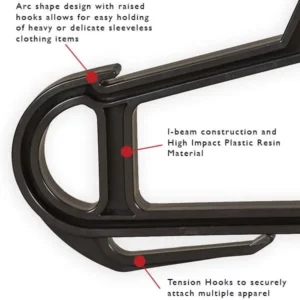
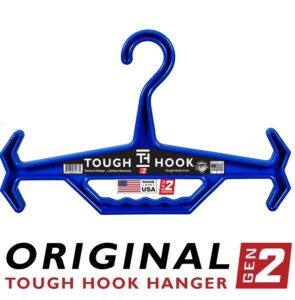
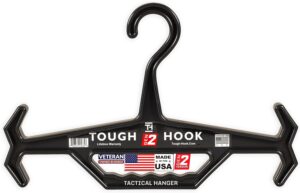
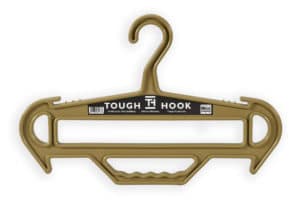
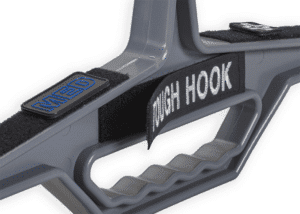
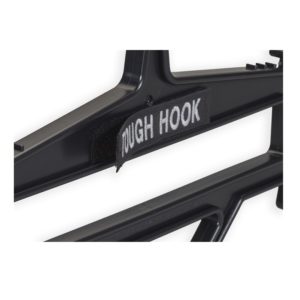
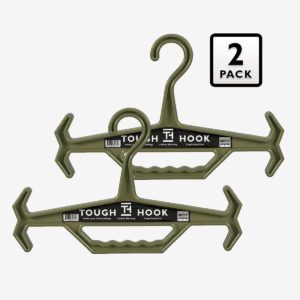
When making your choice, factor in the weight of your gear. A robust system is crucial, especially for heavier items like backpacks, ropes, or climbing harnesses. This is where durable hangers become indispensable. Our company, Tough Hook, specializes in heavy-duty hangers designed to withstand significant weight, making them perfect for securely storing large backpacks, tactical vests, and even wet outerwear without bending or breaking. Investing in quality hangers like Tough Hook ensures your gear stays put and maintains its shape.
Categorizing Your Gear for Optimal Organization
Before you start hanging, take stock of all your hiking gear. Lay everything out and begin to categorize. This step is crucial for creating a logical flow on your wall. Some common categories include:
-
Navigation: Maps, compass, GPS device, headlamp, extra batteries.
-
Hydration: Water bottles, hydration bladders, water filters, and purification tablets.
-
Nutrition: Energy bars, trail mix, dehydrated meals (for longer trips), and cooking system.
-
Safety & First Aid: First aid kit, emergency whistle, fire starter, multi-tool, personal locator beacon (PLB).
-
Shelter & Sleep: Tent, sleeping bag, sleeping pad, tarp, repair kit.
-
Clothing: Layers (base, mid, and outer), rain gear, hats, gloves, and socks.
-
Tools & Repair: Knife, cordage, duct tape, and gear repair kit.
-
Personal Items: Sunscreen, insect repellent, toilet paper, trowel.
-
Larger Items: Backpacks, trekking poles.
Within these categories, think about how frequently you use each item. Frequently accessed items should be at eye level and easily reachable, while less common items (e.g., winter-specific gear, emergency-only items) can be stored slightly higher or lower.
Setting Up Your Gear Wall: A Step-by-Step Guide
-
Mount Your System: Install your chosen pegboard, slatwall, or shelving units securely to the wall studs. Ensure it’s level and capable of holding the anticipated weight.
-
Rough Layout: Before committing to permanent placements, use temporary hooks or simply place items on the floor in front of the wall to visualize your layout. Group related items together. For instance, all navigation tools might go in one section, while hydration items are in another.
-
Heavy Items First: Start by placing your heaviest and bulkiest items, like backpacks and sleeping bags. This is where Tough Hook hangers shine, offering robust support for even the most loaded packs. Position them at a height that’s easy to access but doesn’t obstruct other gear.
-
The “Big Three” Principle: Dedicate prime real estate to your “Big Three”—backpack, shelter, and sleeping system. These are typically the largest and most critical items.
-
Small Item Management: For smaller items like headlamps, knives, or first aid components, utilize small bins, mesh bags, or clear containers that attach to your wall system. Label these containers clearly so you can quickly identify the contents.
-
Tool and Repair Kit Station: Create a dedicated zone for your multi-tool, knife, cordage, and any repair patches. This ensures you always know where to find these essential fix-it items.
-
Hydration Station: Keep water bottles, hydration bladders (clean and dry!), and water filters together. Consider a small shelf for purification tablets.
-
Apparel Section: Use sturdy hooks or our Tough Hook hangers for rain jackets, base layers, and other essential clothing items. Hanging clothing prevents wrinkles and allows for better air circulation, especially if you’re hanging a piece that’s not quite bone dry.
-
Footwear: If space permits, a small shelf or designated rack for hiking boots can be incorporated, allowing them to air out after a trek.
-
Labels, Labels, Labels: Even with a visual system, clear labels are incredibly helpful, especially for containers holding smaller items or for gear that’s used less frequently.
-
Maintenance Station (Optional but Recommended): If you have space, consider a small workbench or shelf area near your gear wall dedicated to cleaning and minor repairs. This encourages immediate post-hike maintenance.
Maintaining Your Grab-and-Go System
Setting up the wall is only half the battle; maintaining it is key to its long-term effectiveness.
-
Return Everything to Its Place: After every hike, make it a habit to clean, inspect, and then return each item to its designated spot. This is the golden rule of a grab-and-go system.
-
Regular Inventory: Periodically (e.g., once a month or before a major trip), do a quick inventory check. Replace expired first aid items, replenish batteries, and ensure all gear is in good working order.
-
Seasonal Adjustments: Your gear needs will change with the seasons. Don’t be afraid to adjust your wall layout to prioritize seasonal gear. For example, in winter, snowshoes and cold-weather clothing will take precedence.
-
Cleanliness: Keep your gear wall area clean. Dust and debris can accumulate, especially in a garage or basement.
-
Invest in Quality: As mentioned earlier, investing in durable storage solutions, like the heavy-duty hangers from Tough Hook, will save you time and money in the long run by protecting your valuable gear.
By implementing a grab-and-go gear wall, you’re not just organizing equipment; you’re cultivating a lifestyle of readiness and efficiency. You’re creating a system that supports your passion for the outdoors, ensuring that when the trail calls, you’re always prepared to answer. So, take the plunge, invest in some quality organization tools, maybe even a few Tough Hook hangers for those heavy packs, and transform your pre-hike routine into a seamless launchpad for adventure.

